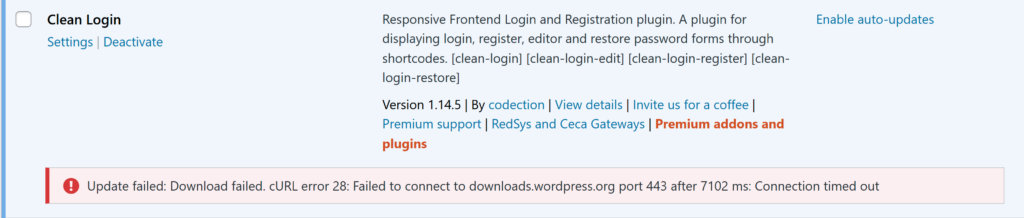
Sometimes server configuration or other issues won’t allow you to automatically update plugins from within the WordPress Dashboard. You may see something like a wordpress.org timeout error, for example, as shown below.
Never fear! It’s still possible to update your plugins manually. In this tutorial, we’ll walk through the steps required to manually update our free and premium plugins using two different methods: through the WordPress Dashboard and via FTP.
👋 This tutorial will work with any of our plugins as long as you change the applicable directory paths accordingly.
Backup, backup, backup!
Although manually updating the plugins should still keep all of your data (events, settings, etc.) intact, it’s always a smart idea to back up your data and files before performing any operation like this. We recommend that all users perform site backups before manually updating their plugins.
Not sure how to do this? Check out our Knowledgebase article for more information.
Downloading the new version
The first thing you’ll need to do is download a ZIP file of the plugin that you’re looking to update. Note the location of the ZIP file that you just downloaded since you’ll need this in the next step.
Free plugins
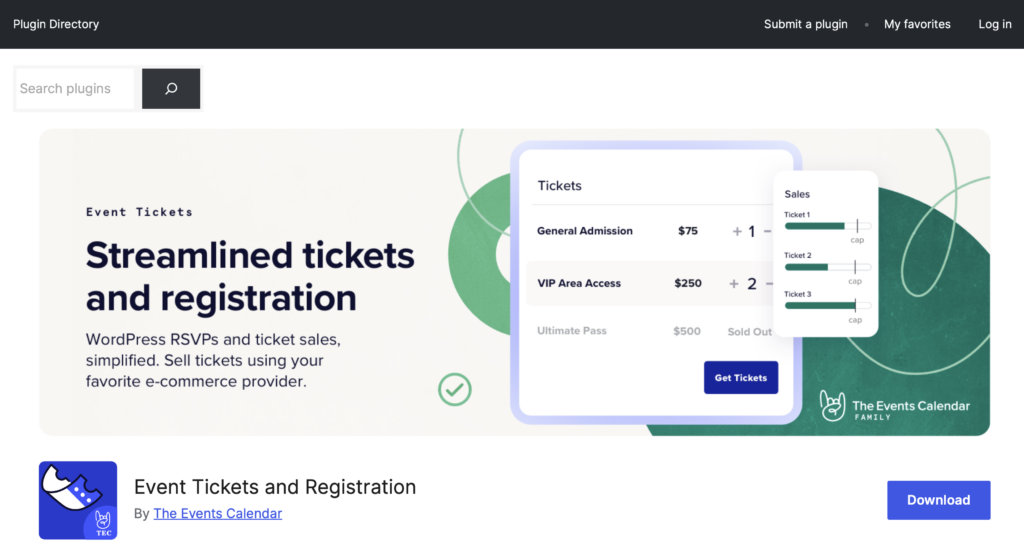
You can download the latest versions of The Events Calendar and Event Tickets from the wordpress.org, where you’ll see a Download button towards the upper right part of the page, below the plugin banner.
Premium plugins
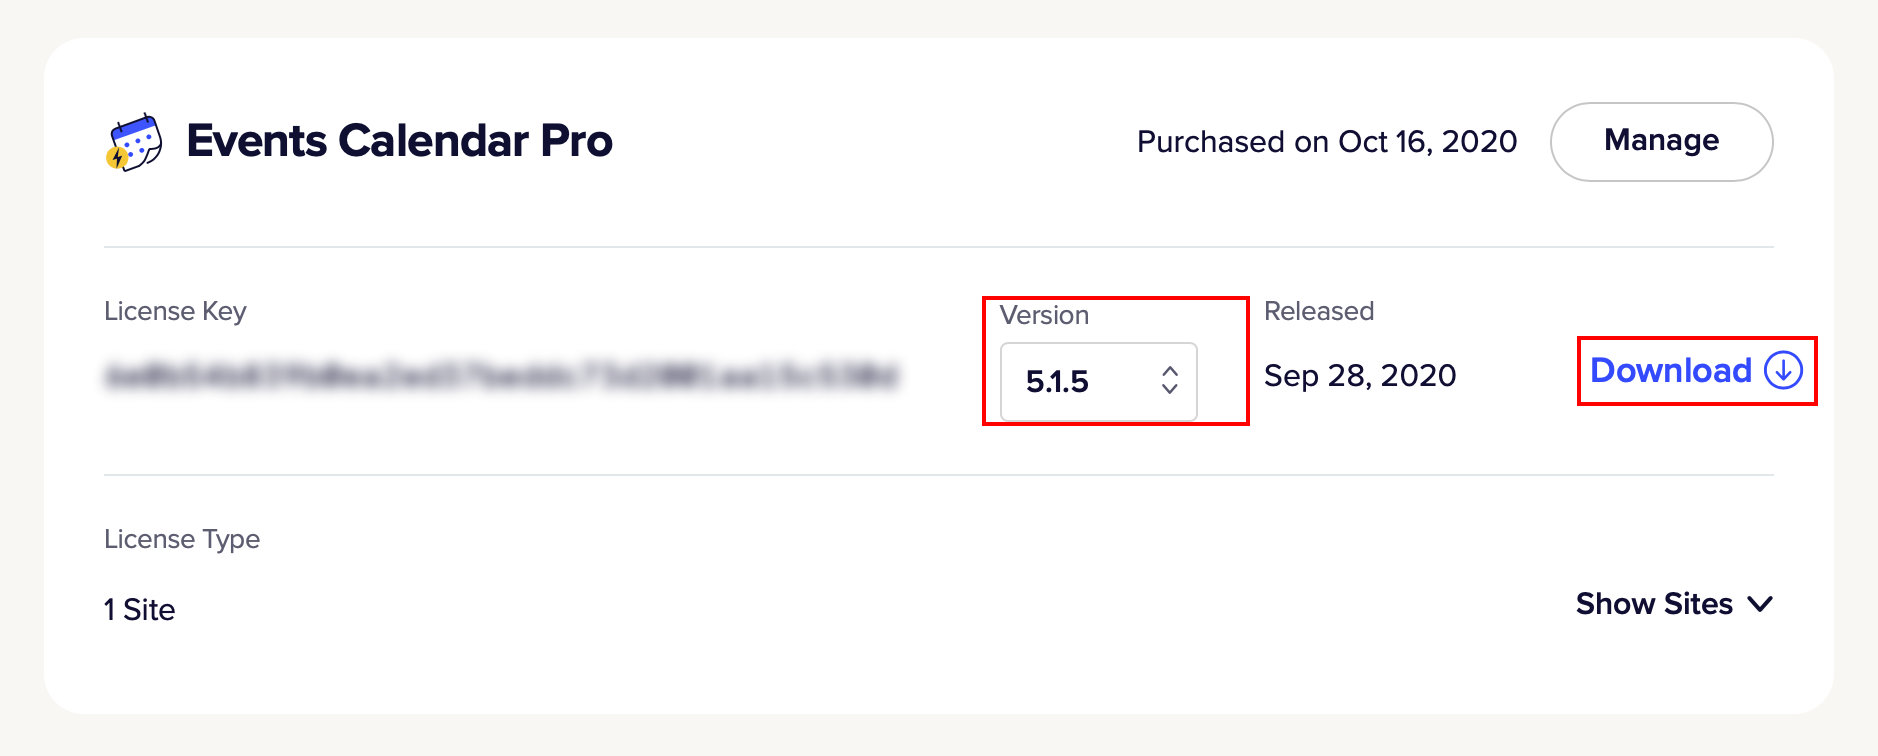
First, log in to your The Events Calendar account and go to your Downloads page. Locate the plugin version that you want to install and click the Download link.
Uploading the new version
Once you’ve downloaded the new version of the plugin, you’re ready to replace the old plugin file with the new one.
Method 2: Replacing the plugin files via the WordPress dashboard
👋 When downloading ZIP files, some browsers (such as Safari) will decompress (or “unzip”) the file into a folder. For uploading to WordPress through the Dashboard, plugin files must be in the zipped format. If you see a folder with the plugin name without the “.zip” extension as part of the file name, right click the folder and select Compress to re-pack the folder into a format for uploading.
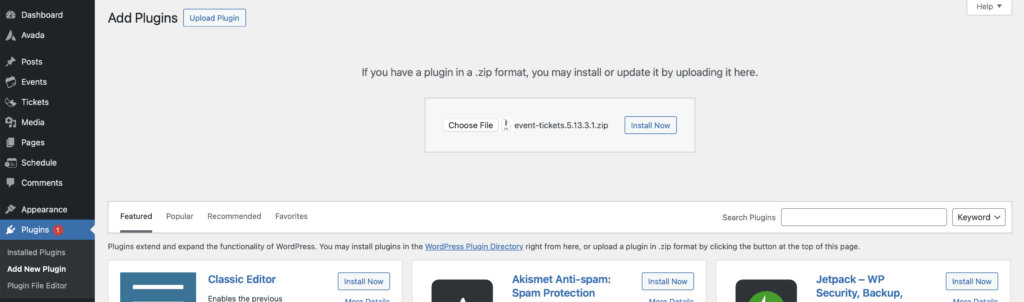
- Navigate to Plugins > Add New Plugin
- Click Upload Plugin
- Click Choose File and select the zip file that you just downloaded and click Install Now
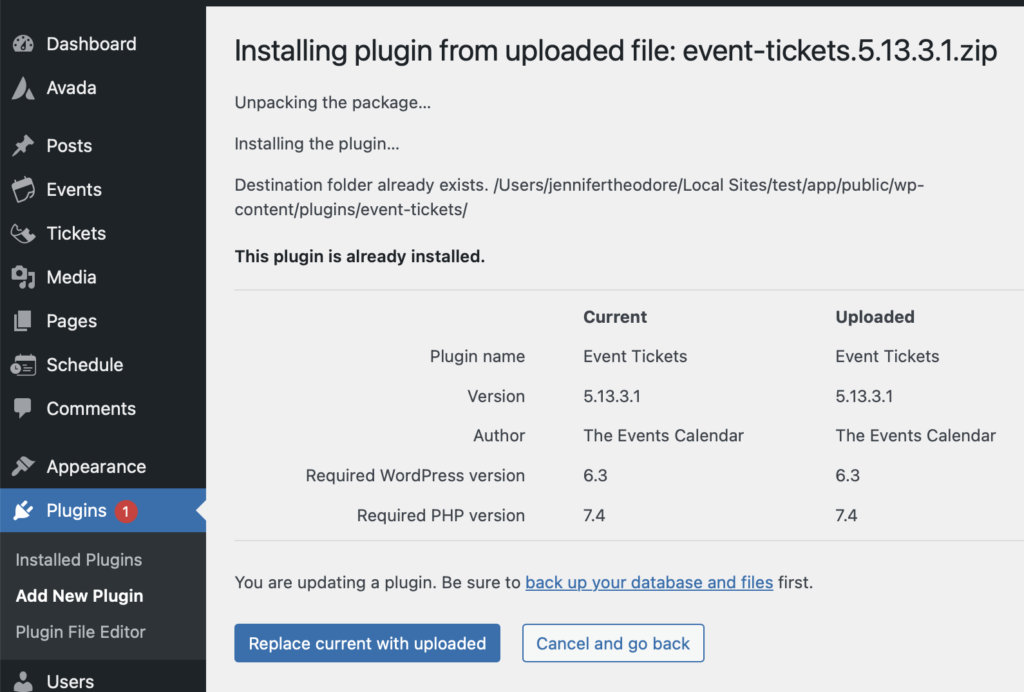
If you have a previous version of the plugin installed, you will see a notice like the one below asking if you would like to replace the existing version with the new one. Click Replace current with uploaded to proceed with the update.
Method 2: Replacing the plugin files via FTP
You’ll now want to replace the existing plugin files on your server with the updated version that you’ve just downloaded. To do this, you’ll need to have FTP access to your site’s hosting account, along with an FTP client. If you’ve never used FTP before, this how-to guide can walk you through how to use it.
Login to your WordPress Dashboard, go to ‘Plugins’, and click ‘Deactivate’ by the plugin that you’ll be updating.

Next, fire up your FTP client of choice and connect to your site’s hosting server. Then, navigate to wp-content/plugins/events-calendar-pro/ and delete all files within that directory, but leave the empty directory intact.
Then, locate the previously downloaded ZIP file, and unzip the contents to a directory on your computer.
Finally, upload these plugin files into the same directory on your server and reactivate the plugin in the WordPress dashboard.