Event Automator allows you to use Zapier to integrate The Events Calendar and Event Tickets with your favorite third-party apps and tools.
This is done by creating a “Zap” in Zapier. A zap is the simple “recipe” (instructions) that powers the automation of any of your workflows.
Before reading further, make sure you have installed and configured Event Automator as explained here.
Using Event Tickets as a Trigger
In this example, we’ll show you how to create a Zap that creates a new Google Sheets row when a new ticket order is added to your WordPress site.
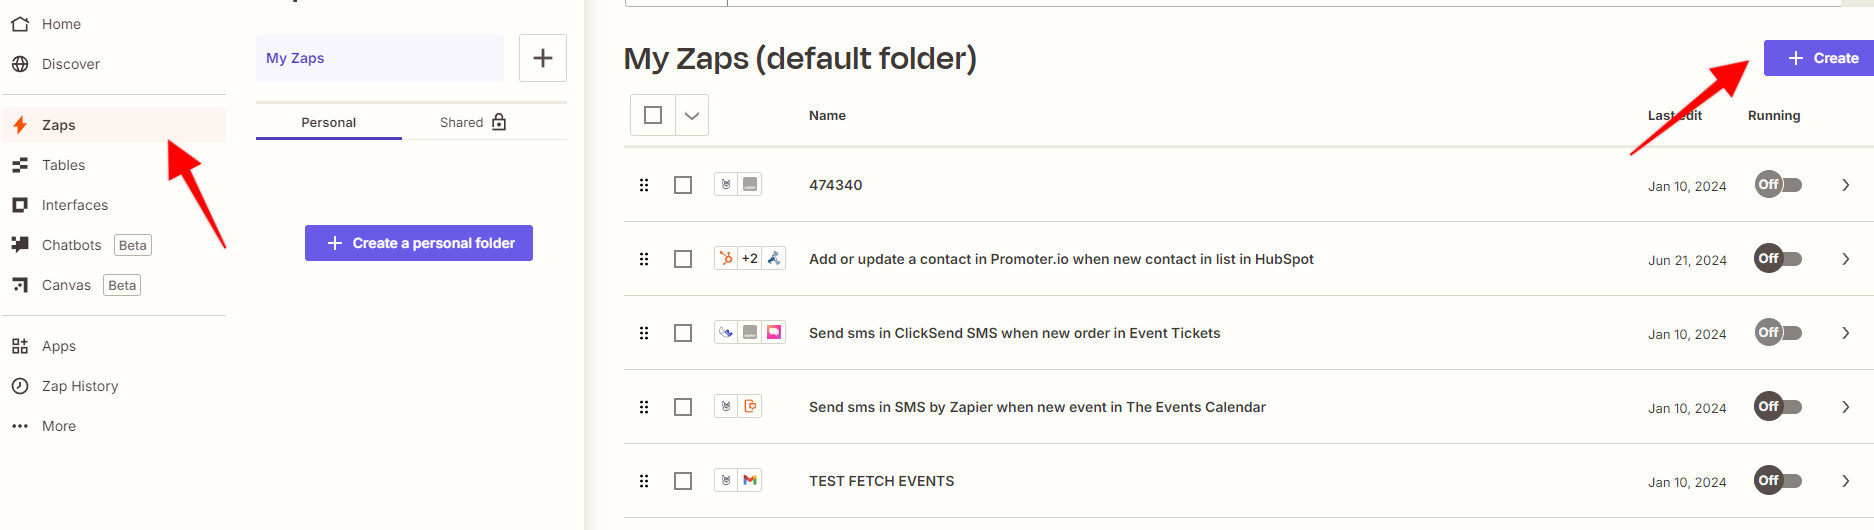
- In Zapier, click on the Zaps on the left side panel, then the + Create button.
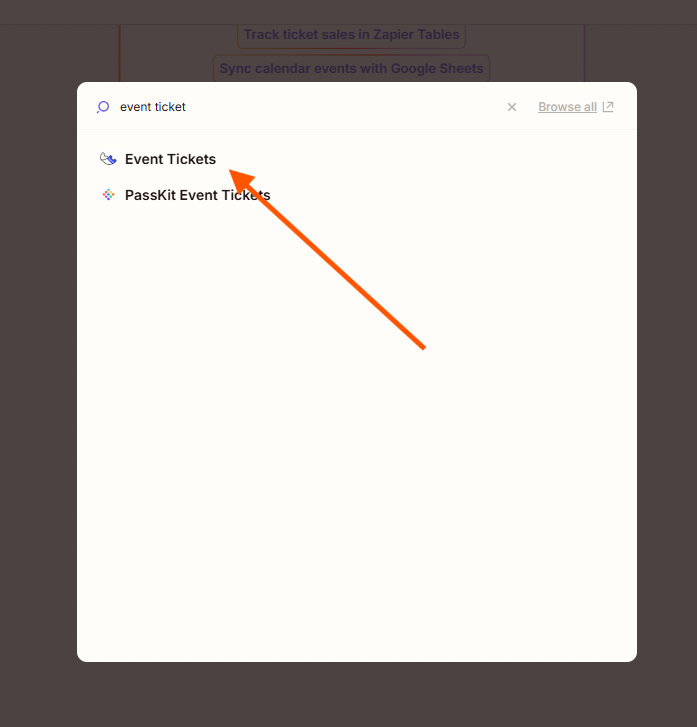
- Select Event Tickets as the trigger.
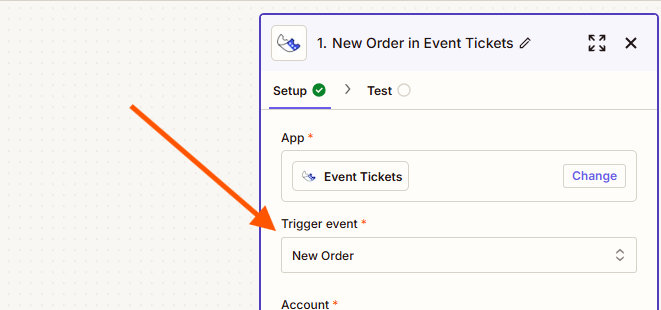
- Choose New Order as the Trigger event.
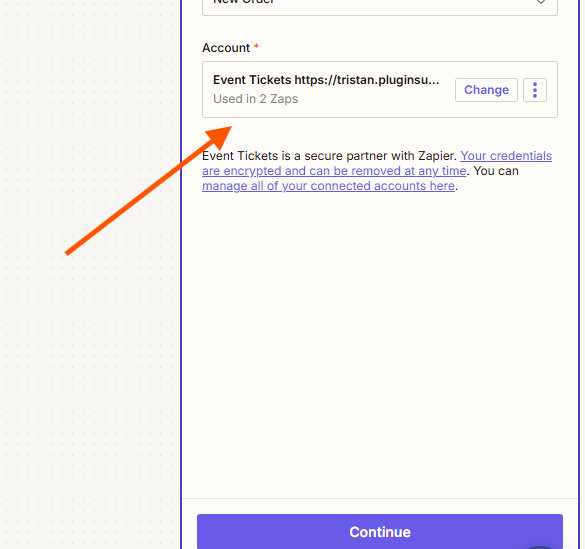
- Choose your account, wait until it loads, and click on Continue.
- You can now begin testing the trigger from Zapier. Once the testing completed, it will show one or more test records. — Make sure you’re working on the most recent record.
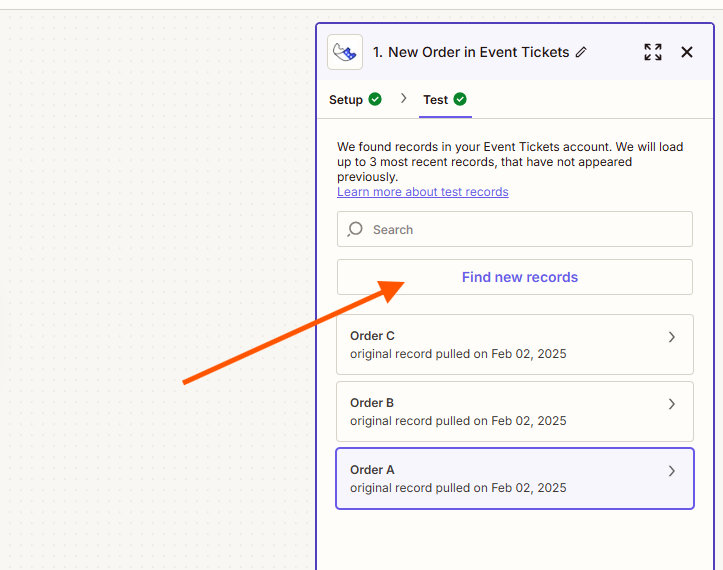
Important: Testing your trigger is a crucial step!
Successfully testing the trigger allows Zapier to “see” all the order fields available on your site.
In other words, if Zapier can’t see the fields on your site, your Zaps will not work.
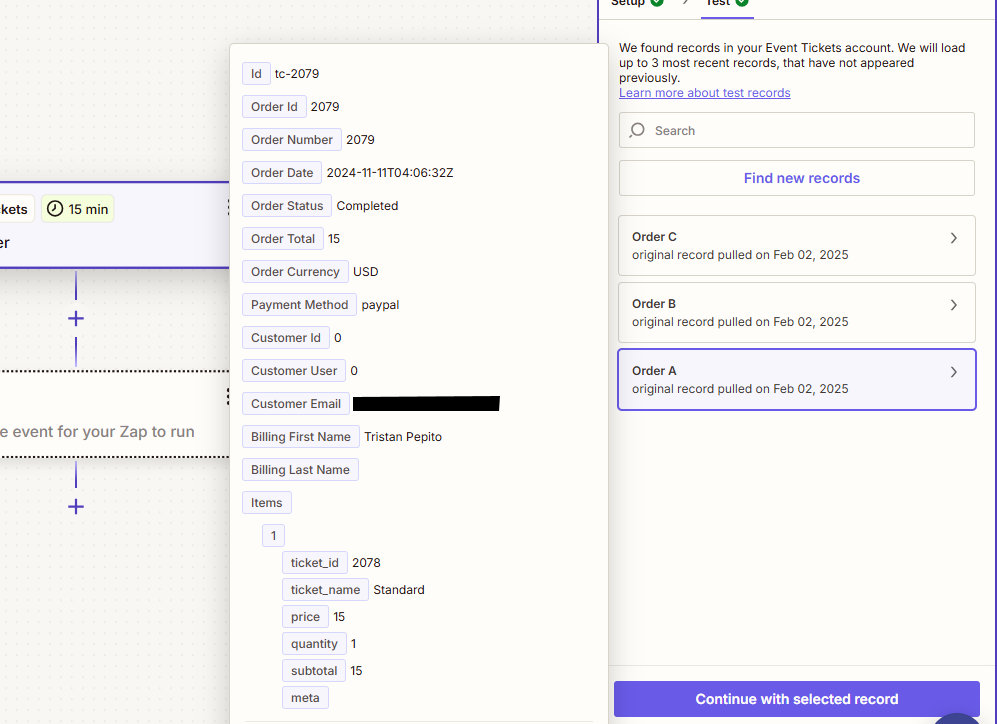
The order record selected from the trigger test should display a list of fields that can be mapped along with their values.
Caution: Don’t be fooled by the fact that Zapier has found an order!
Look carefully at the screen. If you are not seeing a list of fields or if the fields do not contain values, that record cannot be used to test the trigger.
To fix that, you can:
- Select another order record (if any)
- Do another ticket order on your site
- Click again on the Find new records button where you are testing the trigger on Zapier
- The freshly created order should appear
- Select it and the fields and values are present
- Prepare your Google Spreadsheet with the fields being the column headers in the spreadsheet.
You can check out Zapier’s How To Parse Keys and Values From Line-Item Arrays Into Zapier Mappable Values if you need the Items field mapped into their own columns in the resulting Google Sheet row.
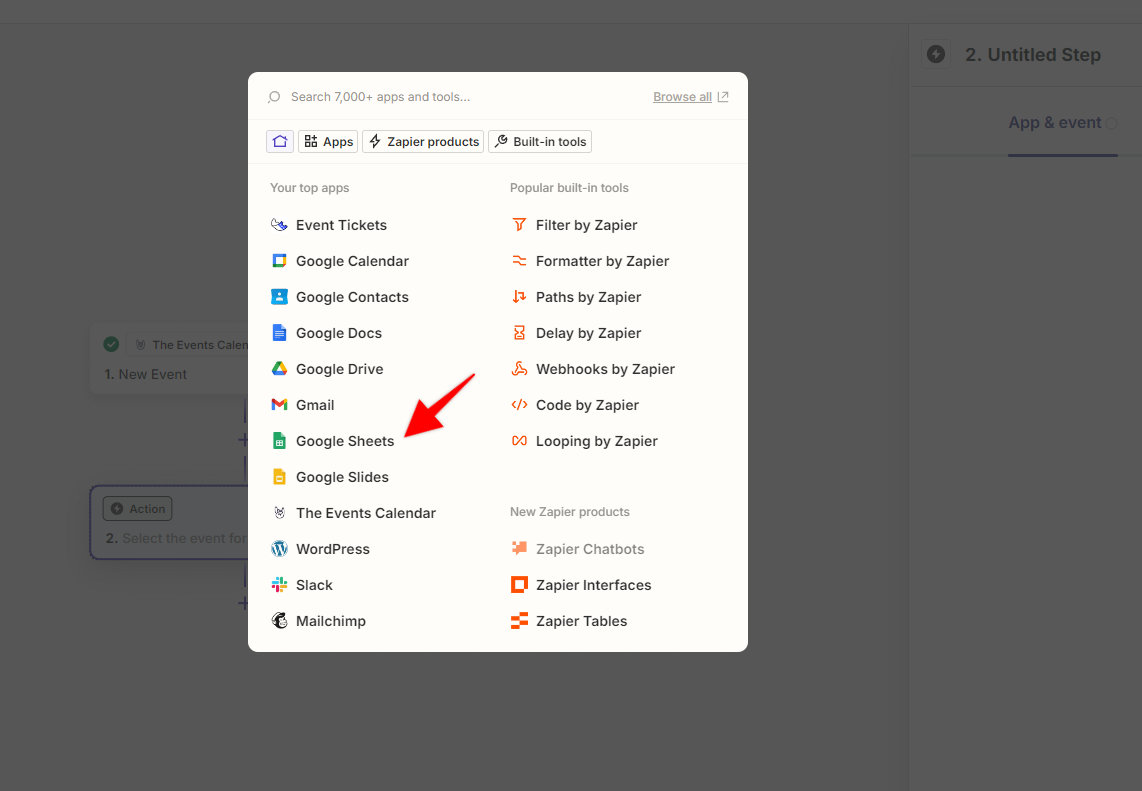
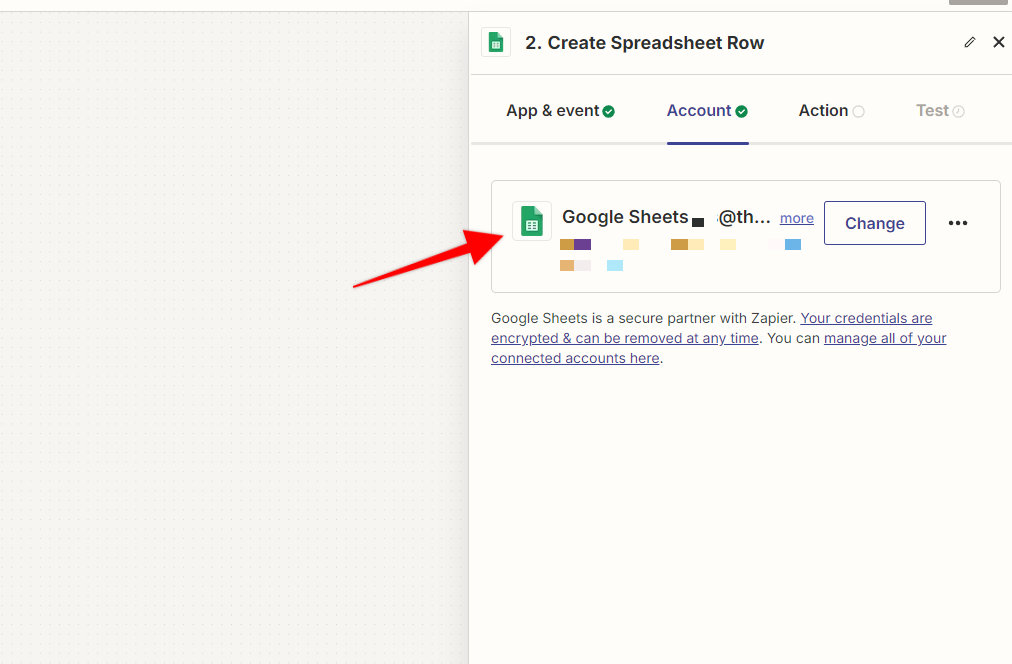
- Select the action you’d like to create (in this case, it’s Google Sheets).
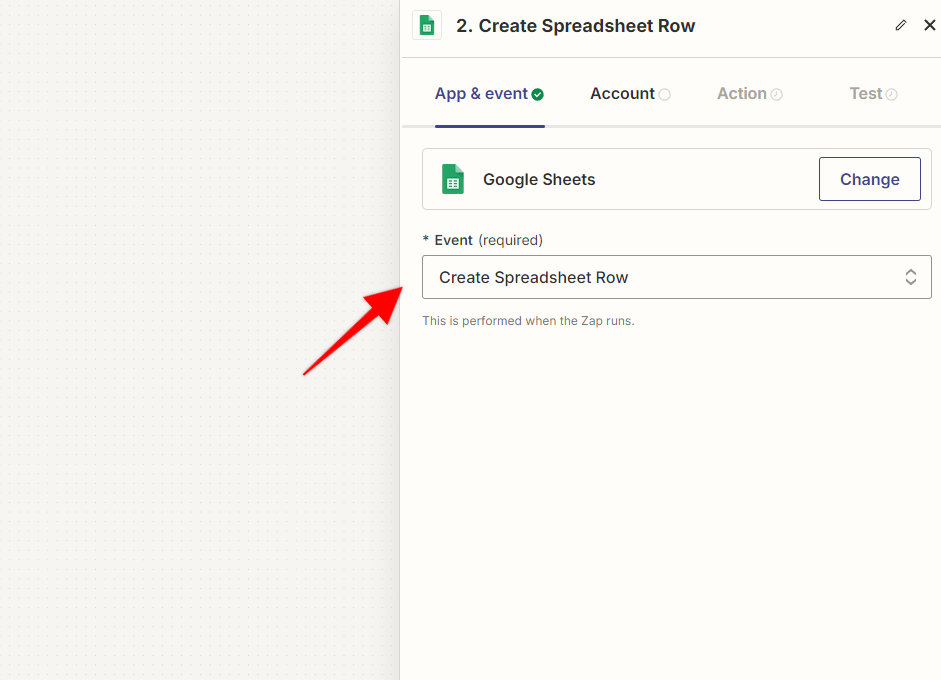
- Choose Create Spreadsheet Row as an event.
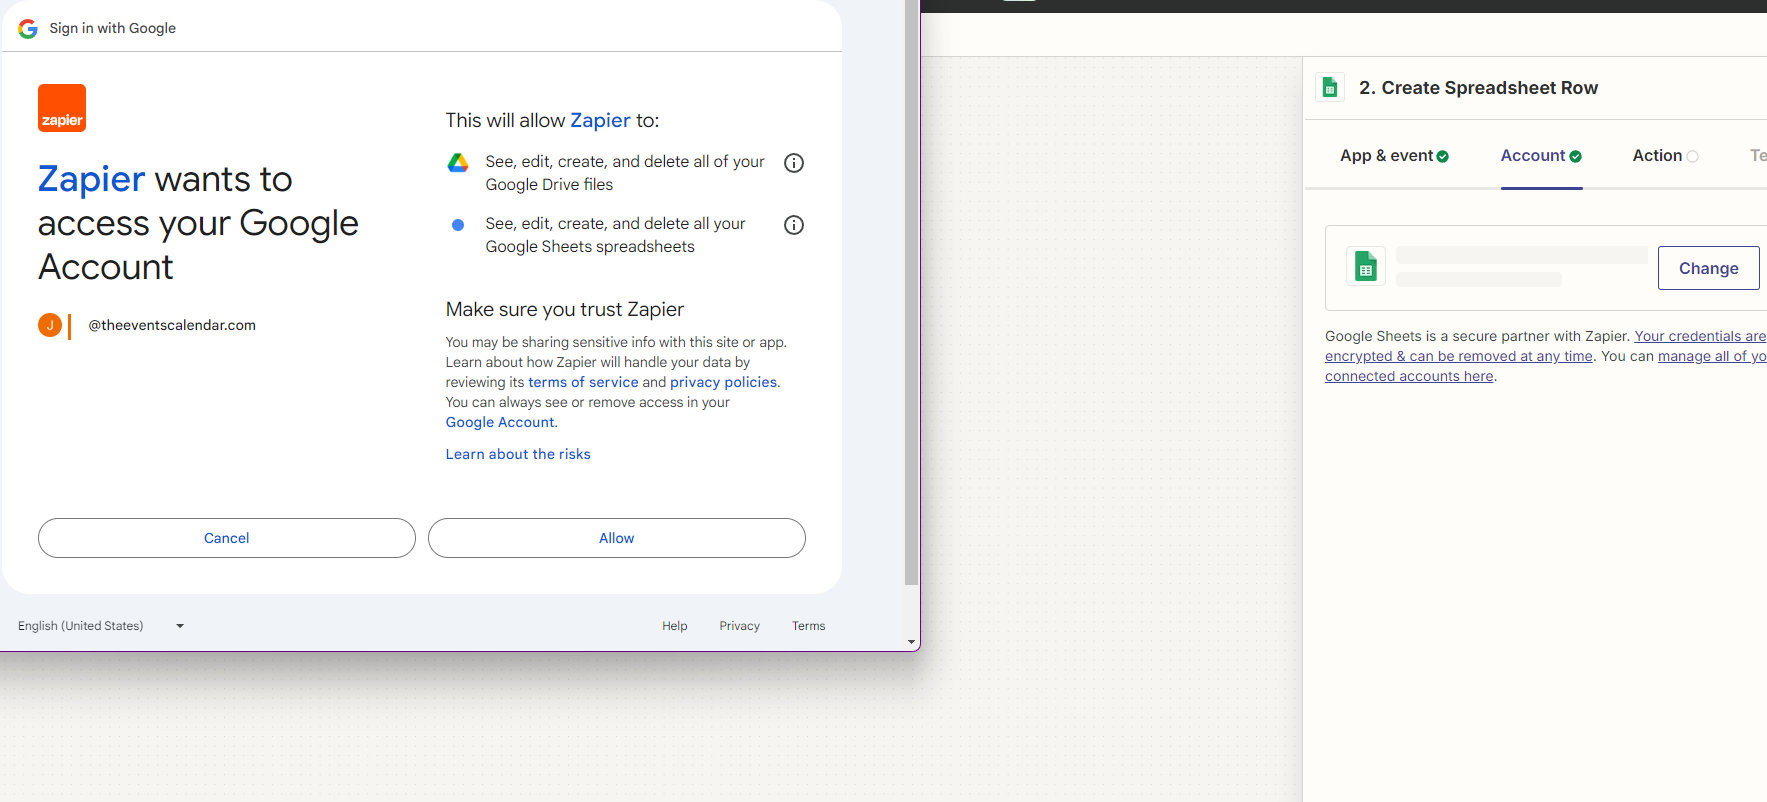
- Select your Google Sheets account or Sign in and allow access if necessary.
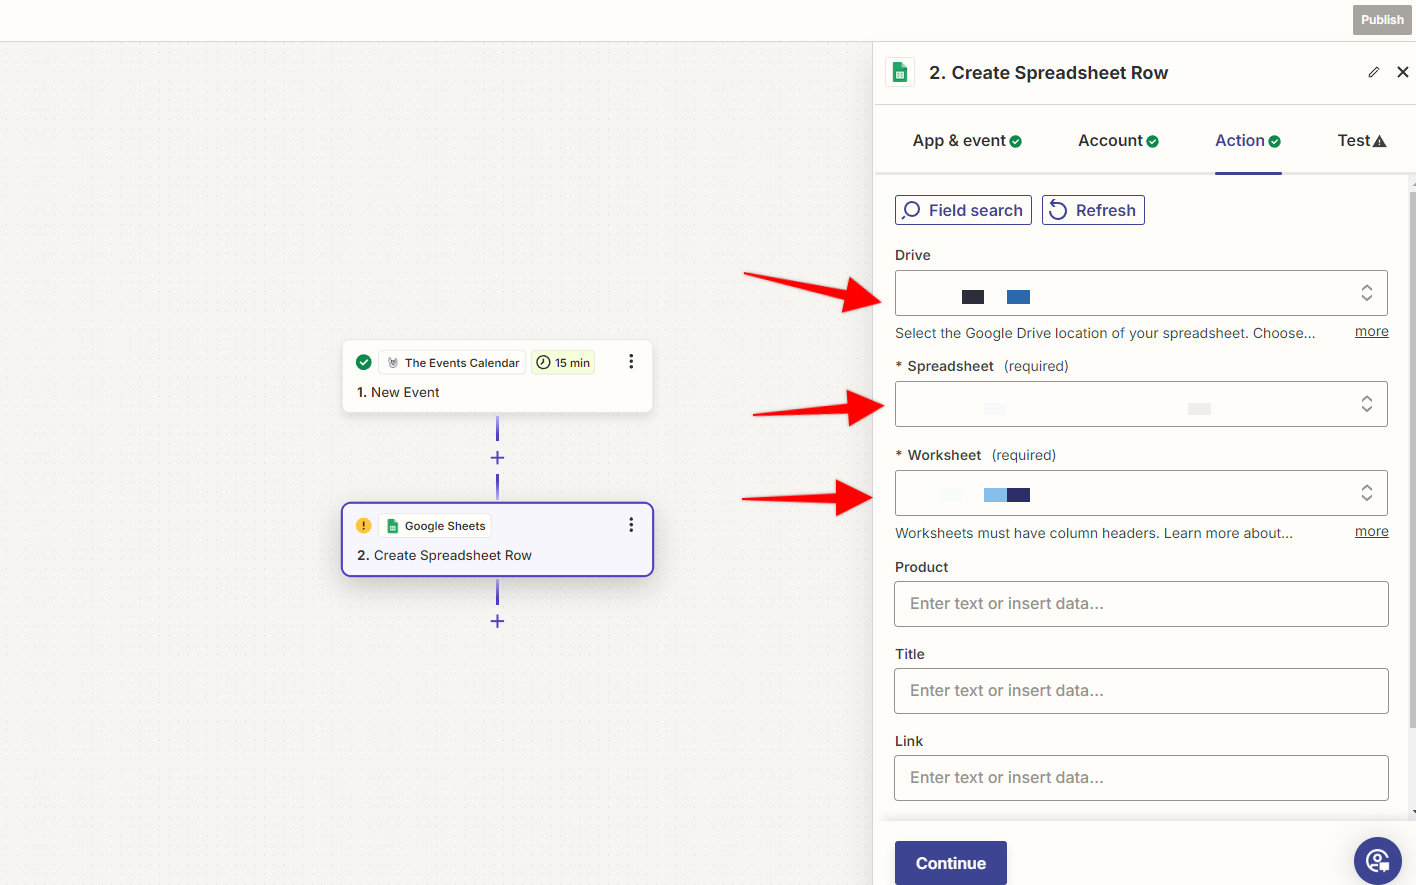
- Set the desired Drive, Spreadsheet, and Worksheet, and click on Continue.
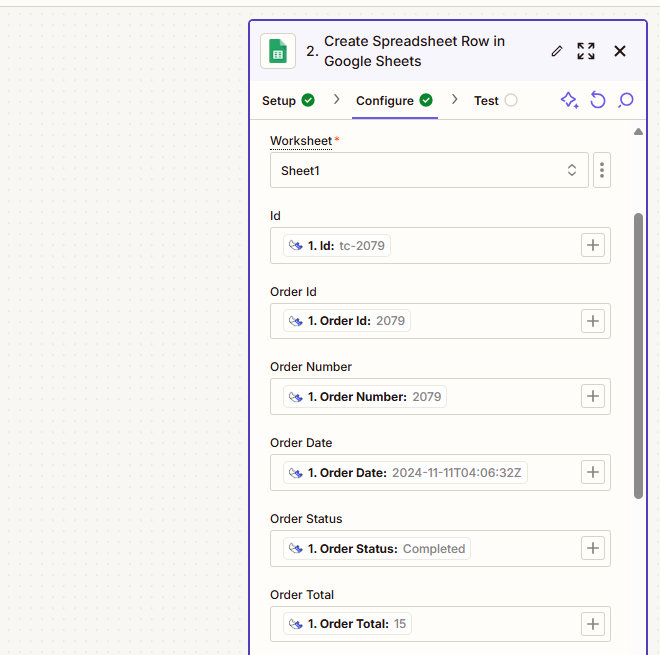
- Map each desired field to its destination column in the spreadsheet then click Continue.
11. Test and Publish your Zap