As part of integrating Category Colors into The Events Calendar, the original legend layout was removed. But don’t worry, you can still bring it back with some simple custom tweaks.
Please follow the steps below to enable this layout:
- Connect to your host files using an FTP connection or your hosting panel.
- Copy the file
category-color-picker.phpfromwp-content/plugins/the-events-calendar/src/views/v2/components/top-bar - Put the file under
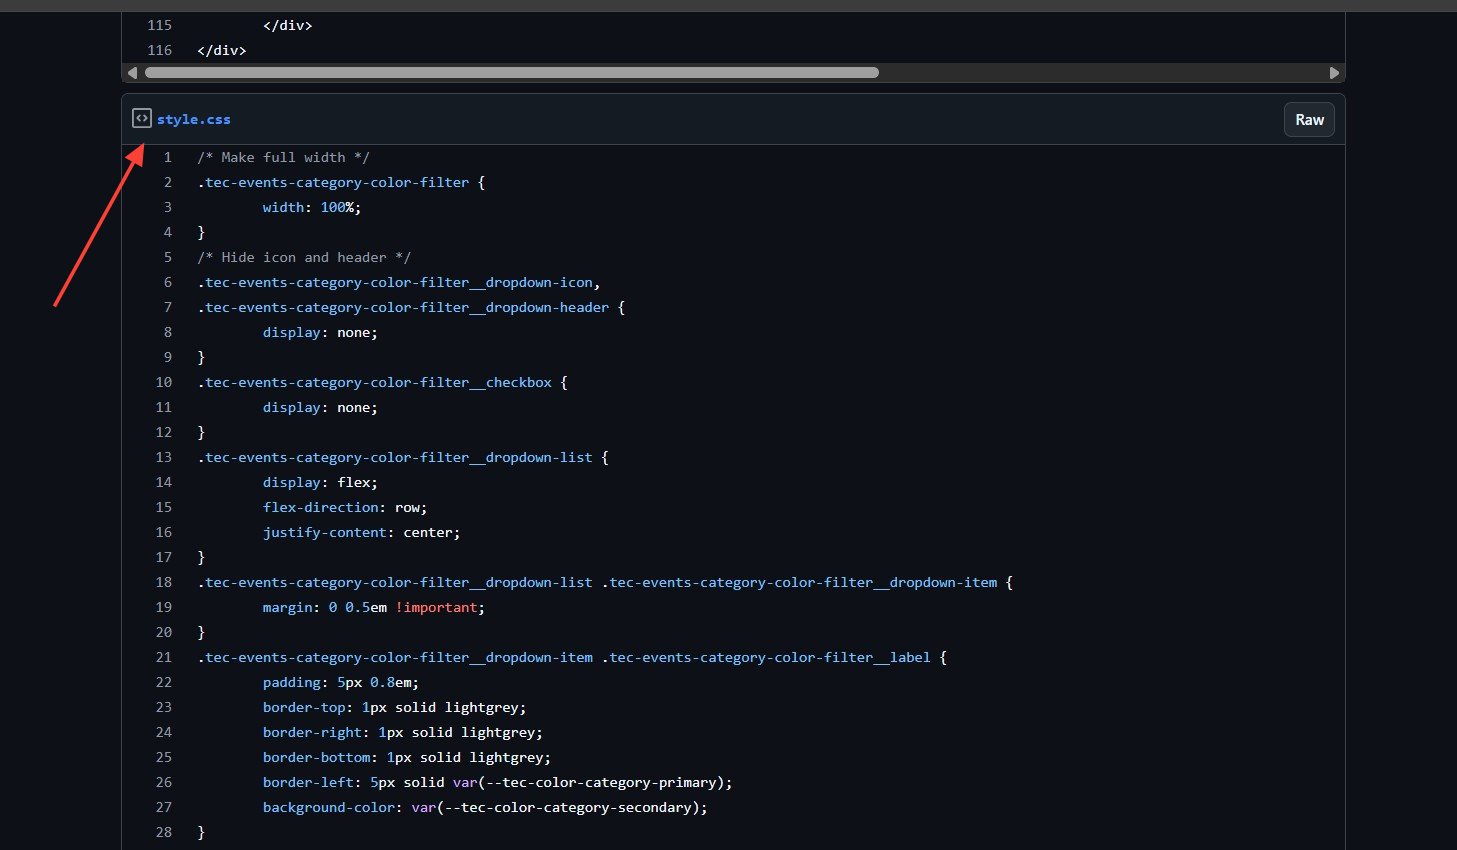
wp-content/themes/[your-theme]/tribe/events/v2/components/top-bar/ - Open the file in the text editor and replace the code with the first one provided here.
- Enable Custom CSS option under Events > Settings > Display > Category Colors.
- Then go to Appearance > Customize > Additional CSS and add the CSS code that was given on the same page:
If your site has caching enabled, you should see the legacy Category Colors layout after clearing the cache.
👋 The CSS in the customizer may not be applicable to certain themes, such as Divi. So it is best to use other methods:
- A third-party plugin that lets you add CSS, e.g., Code Snippets.
- The theme’s style.css file, preferably the child theme.
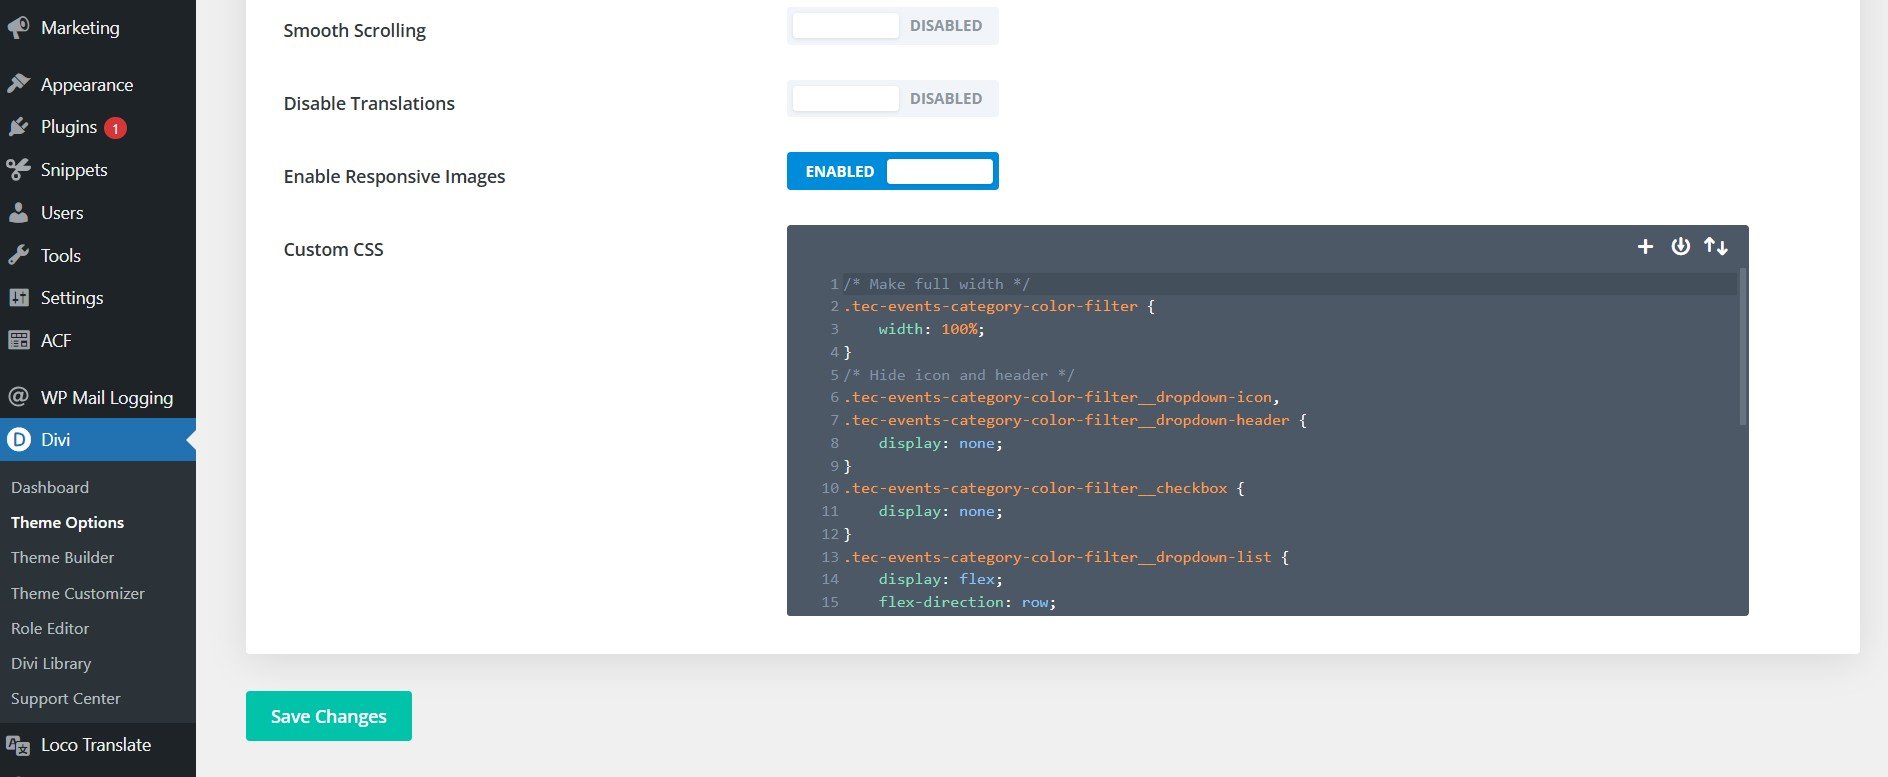
- If the theme has a specific option to add custom CSS, e.g., Divi > Theme Options > Custom CSS.
This change applies to calendar shortcodes as well as the main calendar page.
Version 6.14.2 of The Events Calendar was used to test this code.
Review following guides on customizing The Events Calendar: