You can easily set up a staging site for your WordPress website using the WP STAGING WordPress Backup Plugin.
💡Important Notice: Before creating a staging site and following the steps in this article, make sure to temporarily disable Wordfence, other security plugins, and two-factor authentication (2FA), if enabled. These tools can block or interfere with login access to your staging site. Once deactivated, proceed with the steps below to set up your staging environment.
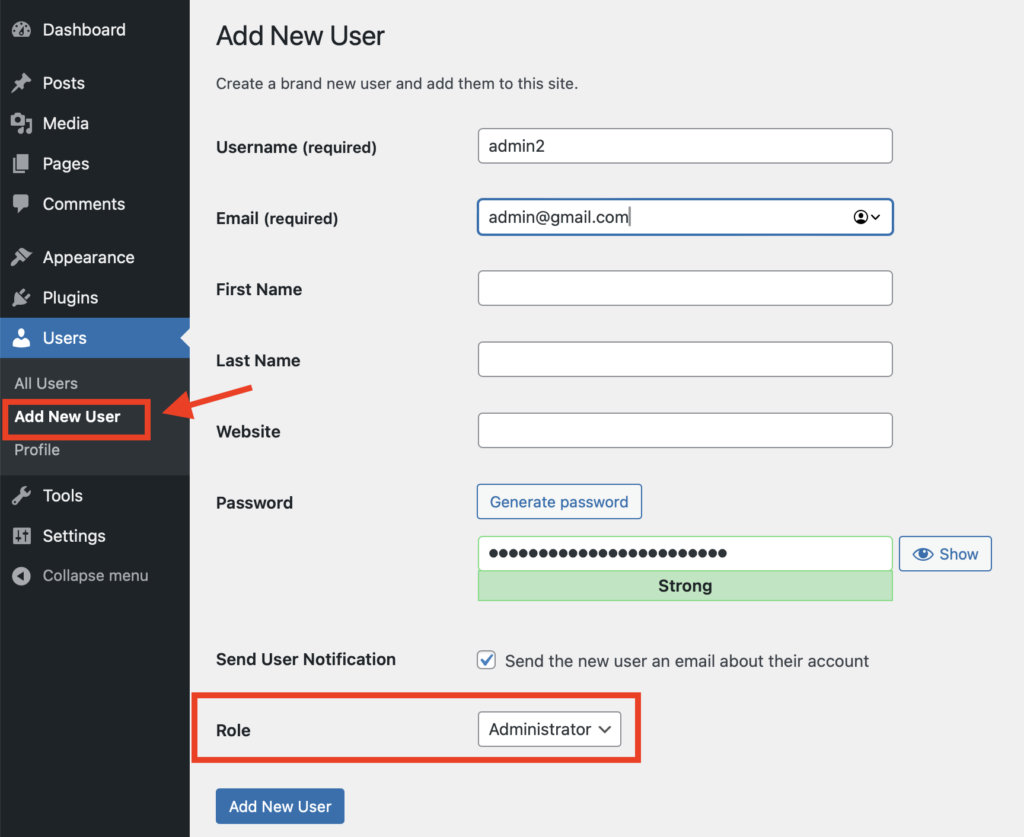
Step 1: Create a New Administrator User
- Go to the Users section and create a new user with administrator privileges. This user will be used to access the staging site later.
- Log in to your WordPress dashboard.
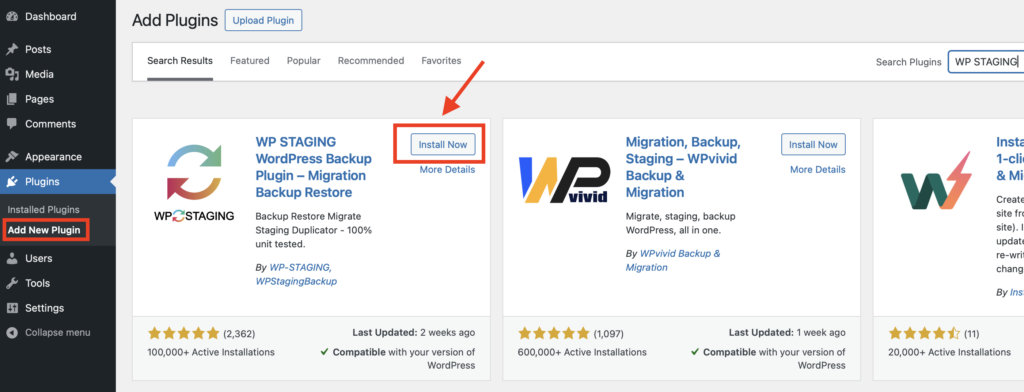
Step 2: Install the WP STAGING Plugin
- Go to Plugins in your WordPress dashboard and click on Add New.
- In the search bar, type WP STAGING WordPress Backup Plugin.
- Find the plugin in the search results, then click Install and Activate.
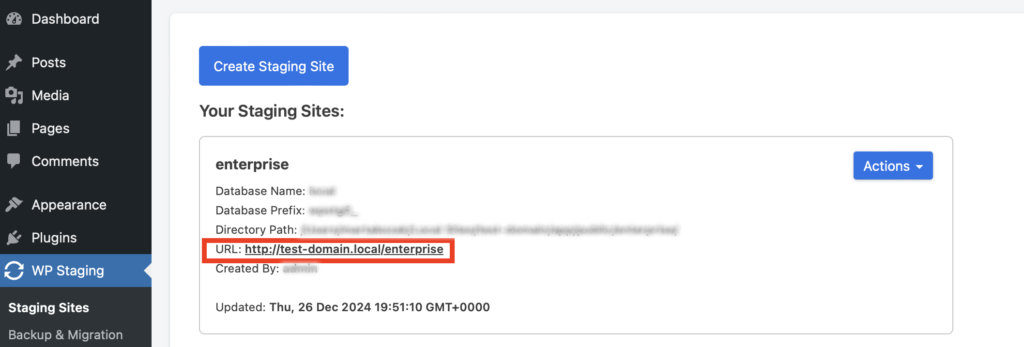
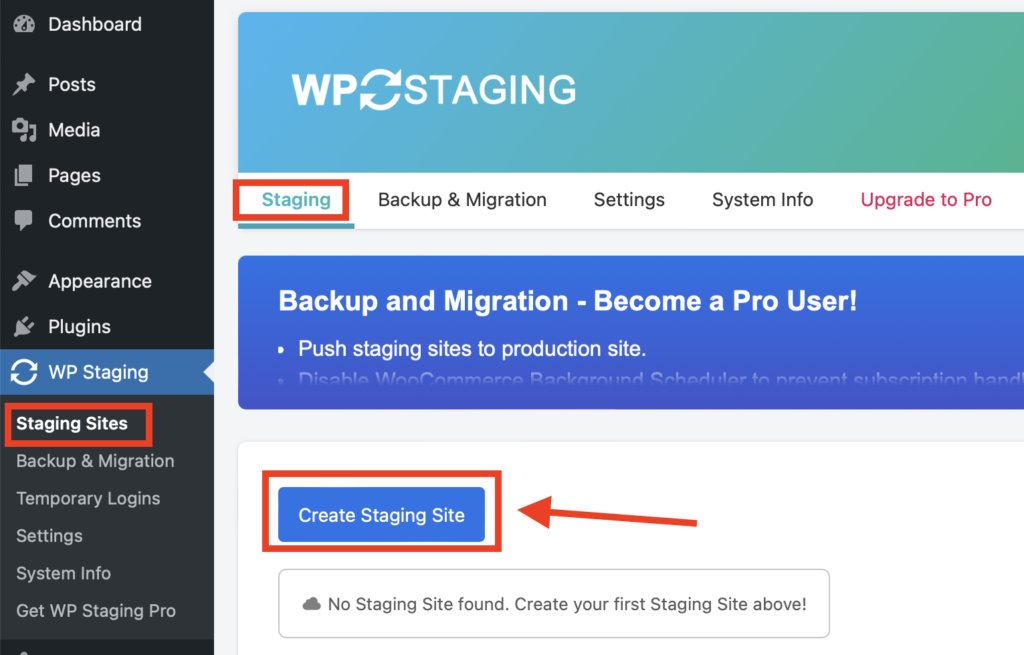
Step 3: Create Your Staging Site
- After activating the plugin, navigate to WP Staging > Staging Sites.
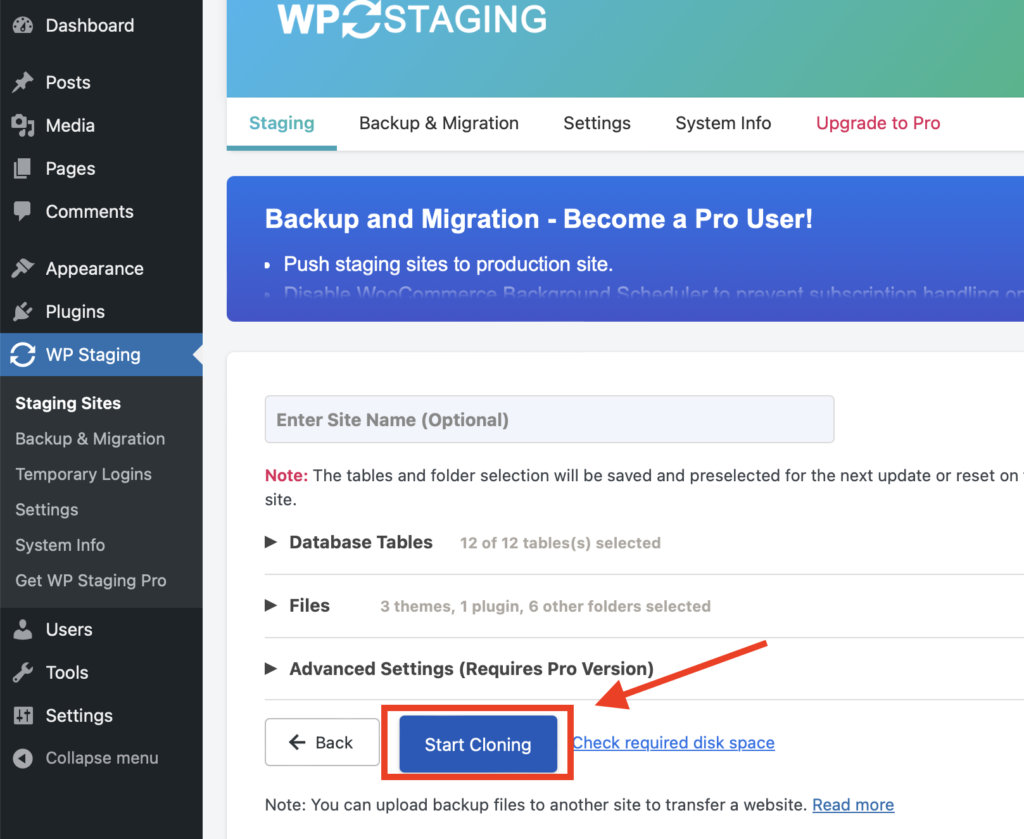
- Under the Staging tab, click the Create Staging Site button. Follow the on-screen prompts to start the cloning process.
- The plugin will copy your website to create a safe staging environment.
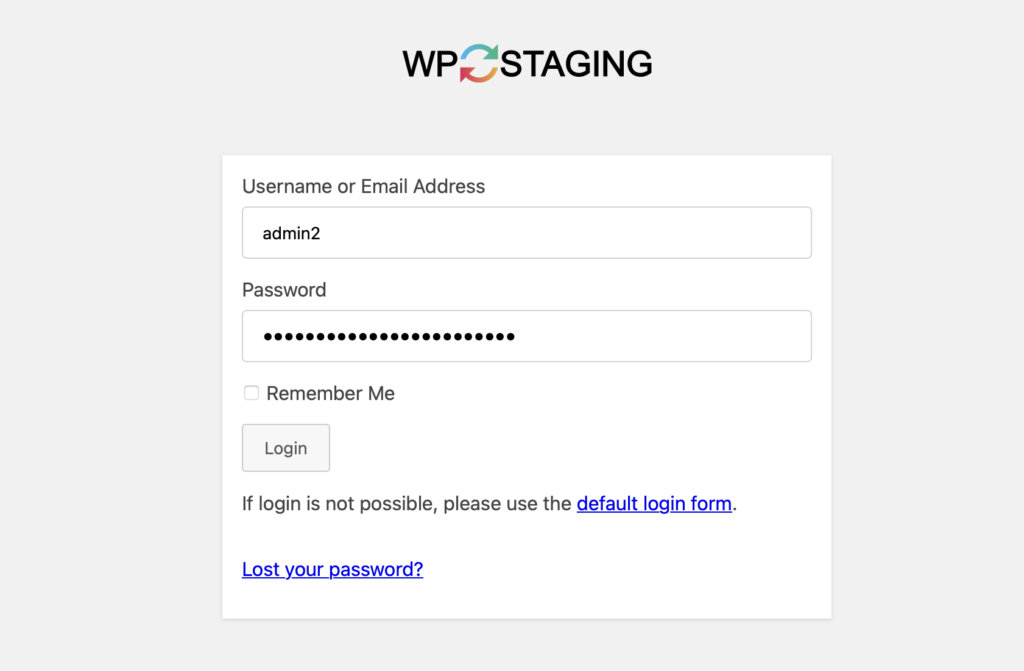
Step 4: Access Your Staging Site
- When the staging site is ready, you’ll see a URL on the final screen.
- Use the administrator credentials you created in Step 1 to log in to the staging site.
You can now test changes or updates in this separate environment without affecting your live site.