In order to create and sell tickets with assigned seating, you’ll need to connect your site to the Seating Builder service. Seating Builder is the SaaS tool that handles Seating Maps and Seat Layouts.
To connect, first go to Tickets > Settings > Licenses.
- Under the Seating section, enter your license key
- Click the green Connect to Seating Builder button
- If you are not currently logged into www.theeventscalendar.com, you’ll be prompted to login to your account
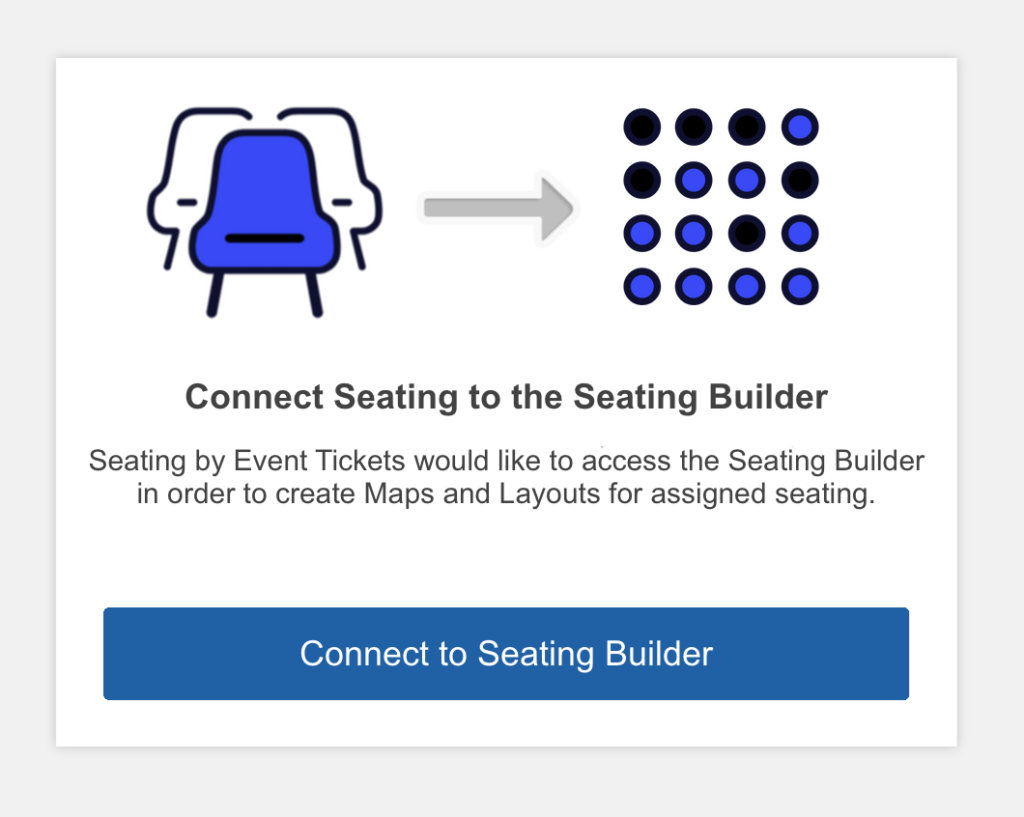
- Once logged in, you’ll see a new page prompting you to connect your site to Seating Builder. Click the blue button.
Done! You are ready to use Seating.
 Note: You must have a valid license to connect to the Seating Builder. If your license expires, renew or replace it.
Trouble connecting with the Seating Builder
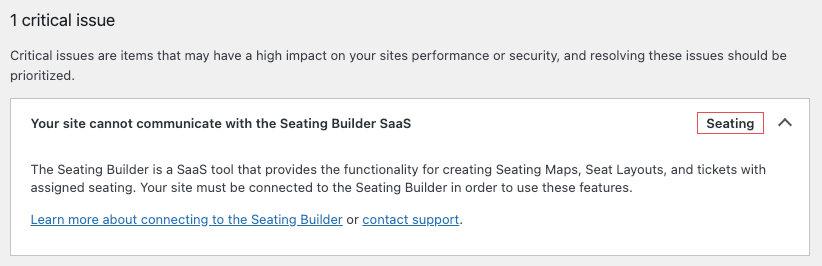
If you are unable to connect to the Seating Builder using the steps above, it’s possible that something about your site is blocking the connection. Go to Tools > Site Health and review the Critical Issues List. If you see a warning for Your site cannot connect to the Seating Builder SaaS, that confirms there is something preventing the connection. This is most likely related to your site host, so we recommend getting in touch with your hosting provider.
Using Seating for staging and live sites
Seating Maps and Seat Layouts data are tied to your TEC account and your site URL. If you want to test seated tickets on a staging site and then launch on a live site, we recommend the following strategy:
- Add your license key to the staging site. Create maps and layouts, test out seated tickets, and do anything else you need to on staging before adding assigned seating to your live site.
- Contact support and request your Seating Maps and Seat Layouts (including Seat Types) from the staging domain be moved to the production domain. This will overwrite any maps and layouts already on the production domain.
When contacting our team, please be sure to provide your license key and/or TEC account email.