This guide will walk you through how to set up test payments with Stripe.
What you need
- WordPress Admin Login
- Stripe merchant account (Test mode and use cases)
Steps to set up Test Mode with Stripe
1. Log into the WordPress Admin Dashboard, then go to Tickets > Settings.
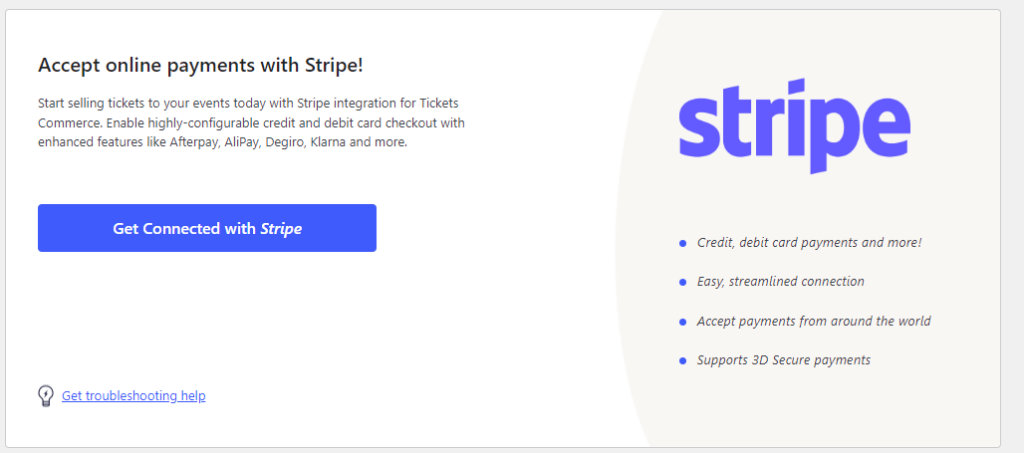
2. Click on the Payments tab, and click the Connect to Stripe button.

3. Click the Get Connected with Stripe button.
4. Enter your Stripe merchant account, and complete the process.
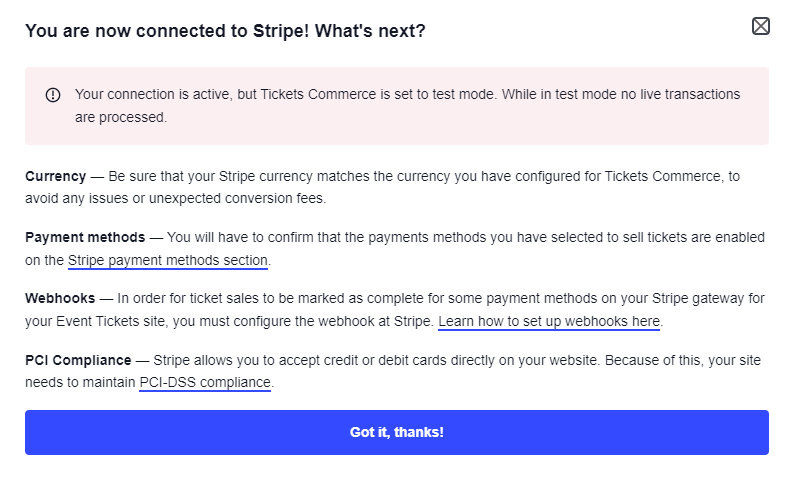
5. A confirmation popup will be displayed.
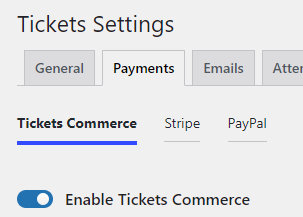
6. Make sure to click the Enable Stripe option and click the Save Changes button.
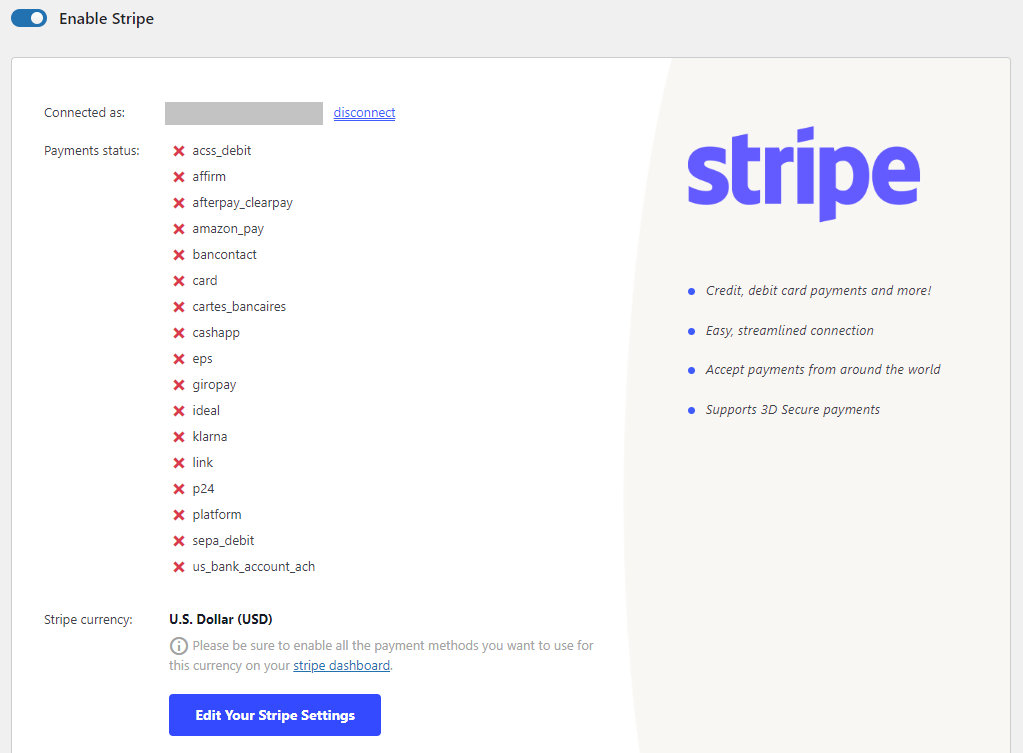
The Stripe section under the Tickets Commerce tab should look like this.
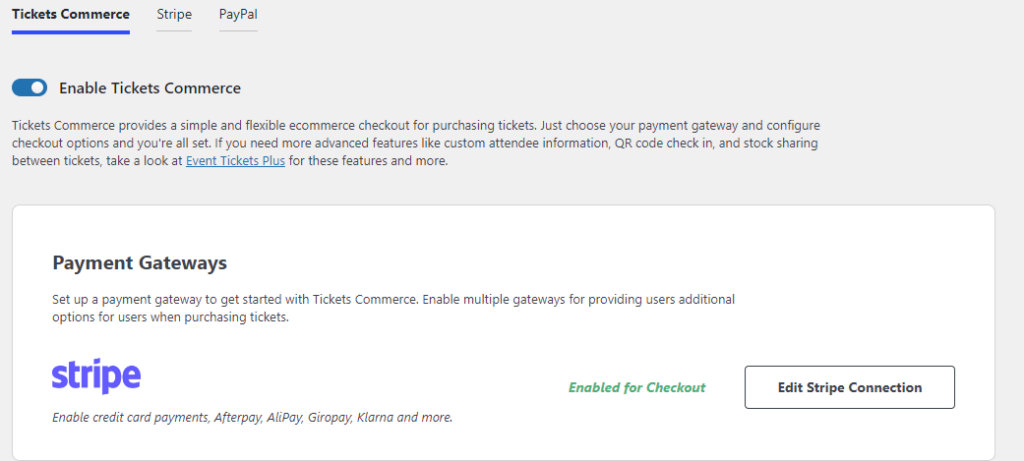
7. Make sure to Enable Tickets Commerce under the Payments tab.
8. Under Tickets > Settings > General, click the Enable Test Mode option.

9. Scroll down to the bottom of the page and click the Save Changes button.
Testing the Purchase Process
1. To test the actual purchase process, first, create an event with tickets.
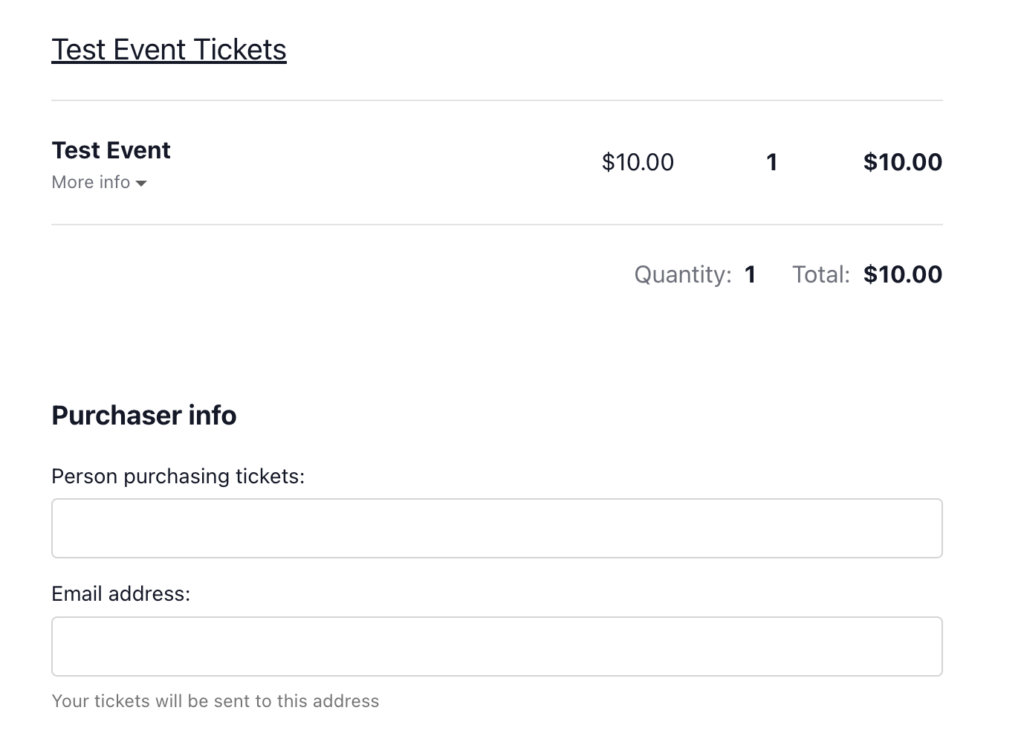
2. Add a ticket from your event and click Get Tickets to proceed to Checkout.

3. Enter a name in the Person purchasing tickets field and an email in the Email address field.
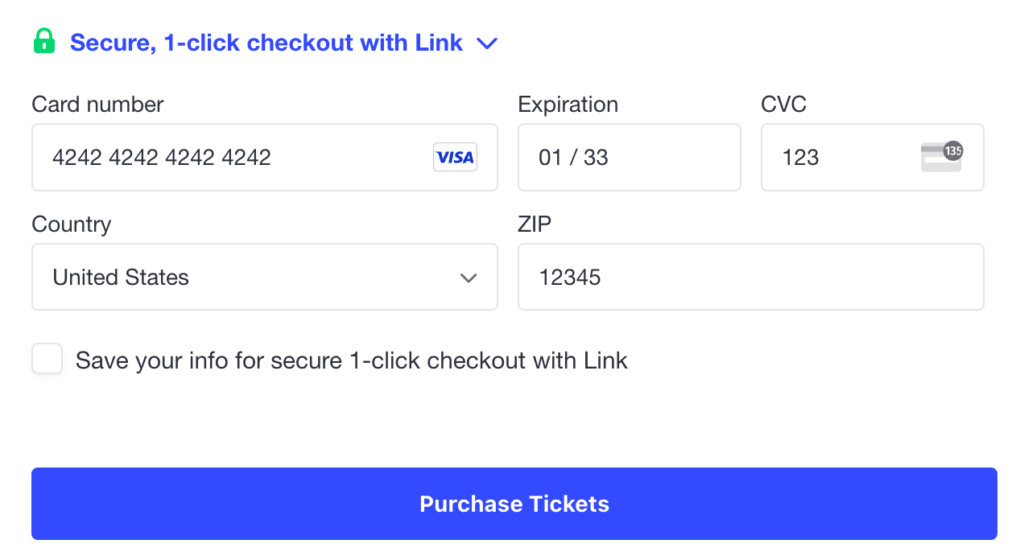
4. Enter one of Stripe’s Test Cards to simulate payment (test mode will not accept live credit card data), for example:
| Card Number | Expiration | CVC (3 digit code) |
| 4242 4242 4242 4242 | Any future date | Any three (3) digits |
4. You’ll be redirected to the Order Completed page (set under Tickets > Settings > Payments)
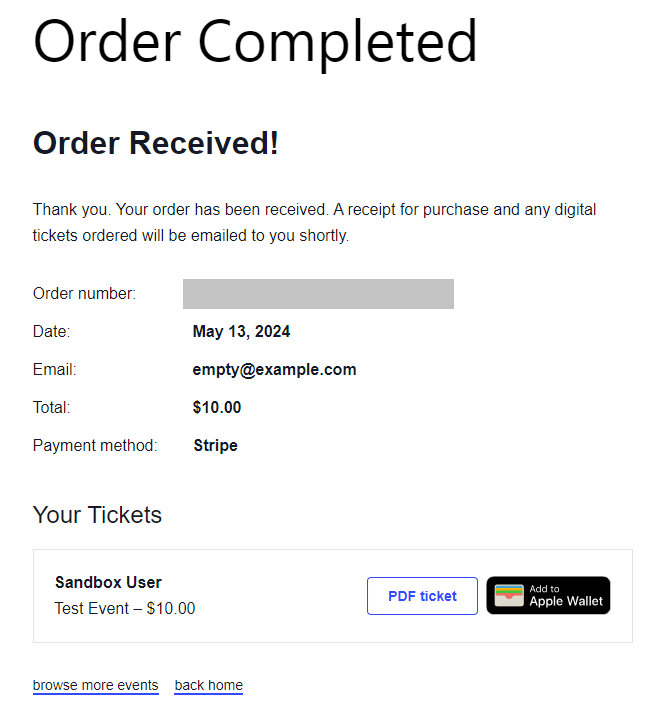
The last three (3) screens show the actual payment process with Stripe.