With Events Calendar Pro, you can automatically generate Zoom links by connecting to Zoom.
Our plugin currently connects using a User Level App. In an upcoming release we will be changing to using an Account Level App to enable us to provide more options when generating your Meetings and Webinars.
All it takes is a few simple steps:
- Navigate to Events → Settings → Integrations from the WordPress dashboard.
- Find the Zoom Connection and click Add Zoom Account.
- You will be redirected to Zoom, where you can log in or create an account.
- From there, you can go back to your site and see that it says Refresh Connection, which means that you are already connected.
- Start automatically generating your Zoom meetings and webinars!
Adding Multiple Accounts
It is important to note that you can add multiple Zoom accounts to your site, allowing you to create meetings or webinars from different accounts simultaneously. To do this, you must first log out of one Zoom account before logging into another.
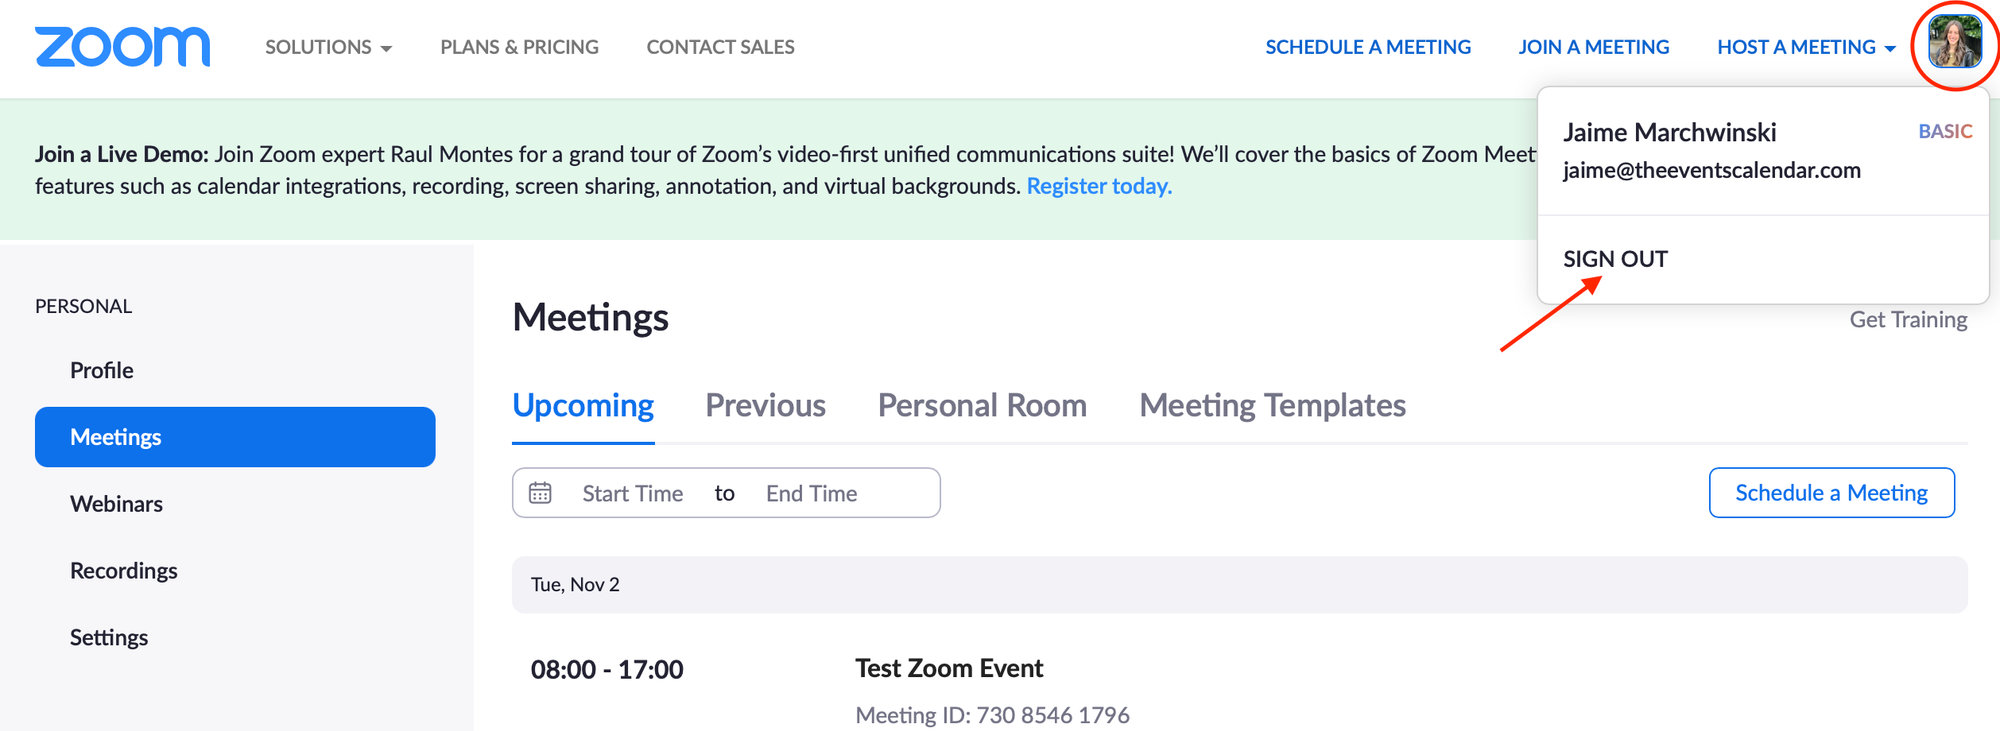
You can only connect to a Zoom account on one WordPress install at a time. If you’d like to use the same Zoom account on two separate sites, you will have to sign out of that account on one site before using it on another. This includes using the same Zoom account on both a staging and a live site at the same time.
Note: For our customers who previously connected to Zoom, there will be some changes in place to make things easier. You will notice that with the most recent update, your Client Secret input field will disappear, although the Client ID field will stay, but will be disabled. Your site will remain connected to Zoom this way. If you disconnect and reconnect, it will change your connection to the new and improved connection.